This month my son had a field trip to the museum in Swindon where they would be learning more about the children in WWII. They had been studying in school about the evacuees from London who were sent to the countryside for safety. The parents were asked to dress our kids up as WWII evacuees and to prepare a lunch that would be appropriate for that time. With my theatre background I jumped right on this to help my son look the part.
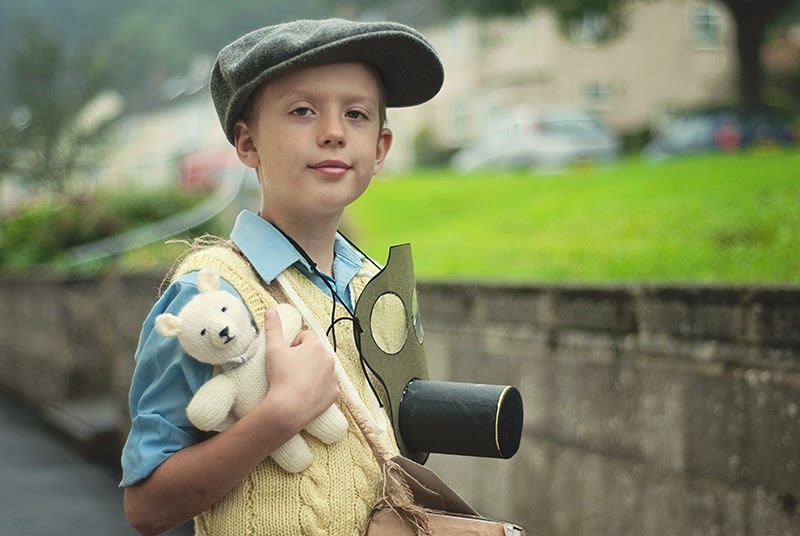
HIS WARDROBE: The folded up the trouser legs of his school trousers so that they came right below his knees and put on a blue button up shirt. My mum had knitted his brother this lovely yellow vest and since ‘smaller sized clothes’ would go with the whole ‘they wore what they had’ criteria it worked out just perfectly. He then wore a black blazer over it to keep warm and his father leant him his hat.
HIS LUNCH: After doing a little research we settled on a corn beef sandwich, an apple, a few biscuits, and some chocolate as a special treat (well…i am sending him away!) I had originally bought him some come evaporated milk after reading it somewhere online but it seemed inconvenient and heavy. I ended up filing an empty honey jar with water for his drink. His whole lunch went into a little box that I wrapped up in brown mailing paper to look like a parcel, which he wore around his neck.
HIS ACCESSORIES: I also made him a placard which was basically a name tag with all his details. It was fully filled out though I took those off for sharing online. He also had a ration card book that I made him which he kept in his lunch box. He chose a teddy bear to carry and I attached the note to the bear like a placard. The note was to the ‘sir or madam’ who would be taking care of my child while I stayed in London.
HIS GAS MASK: Ideally this would fit in the parcel he carried, but it was too big and way cooler to wear anyways as part of his costume. I have decided to include a DIY on how I made it for future parents who will be doing this with their kids at schools here in England. I did not do this when I was in primary school in England and as an expat now I had to do some digging to find ideas online. So I hope this blog post is very helpful.
DIY: GAS MASK
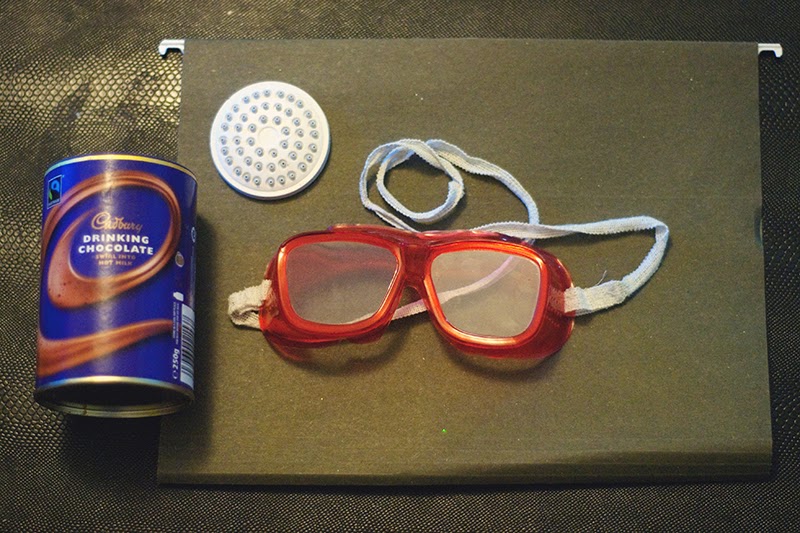
Gather Your Supplies. I found a file, some kid science goggles, a cadbury tin, a shower head, and other items just from what we had in the house. I did not spend any extra money to make this cosplay item.
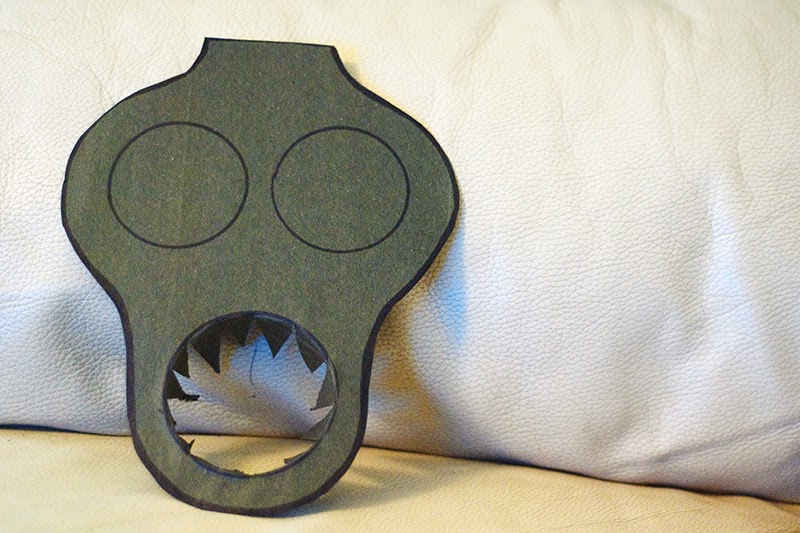
I glued the inside of the file to make the gas mask extra sturdy. I drew out the shape of it from hand and used the cadbury can to make three circles for the eyes and mouth. All three will need to be cut out but I recommend cutting the mouth as show with ‘teeth’ so that it can attach well to the can.
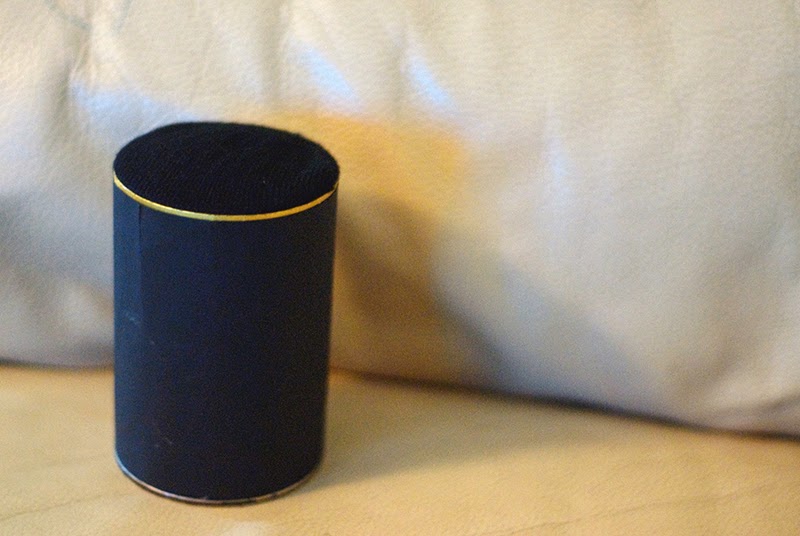
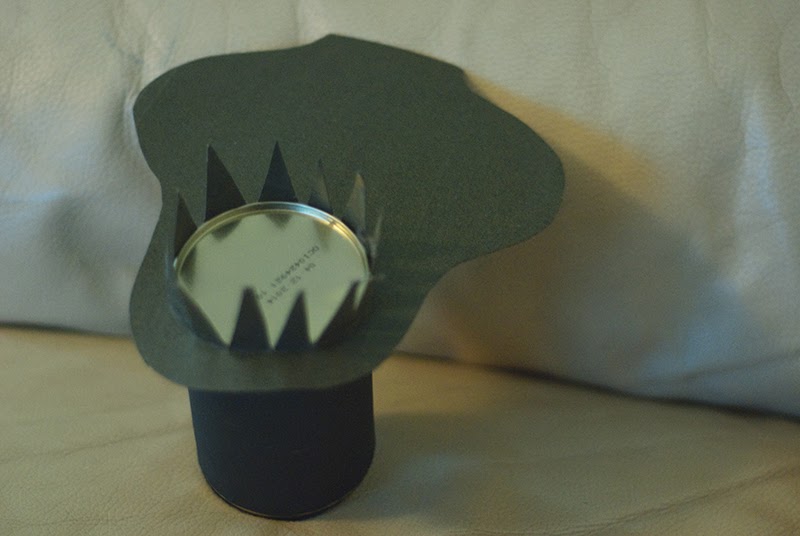
I covered the can with black scrapbooking paper and left the gold metal rim that came on the cadbury tin. Seemed like a perfect detail for an accent piece.
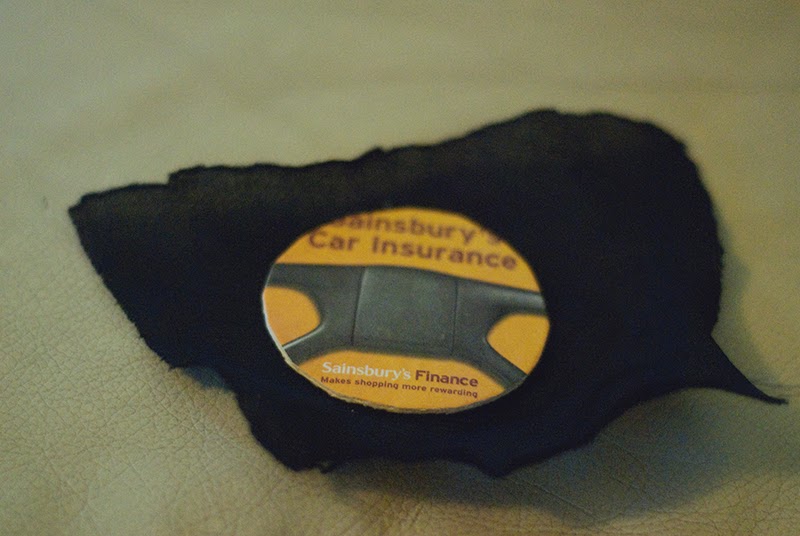
The shower head I realized would fit nicely in the lid of the cadbury tin since the lid has portion of space that indents. All I needed to do was put a little bit of duct tape between the lid and the shower head for it to stick nicely in place.
I used some extra black fabric from an old cape to ver it up and then replaced the lid on the tin. It showed just enough of the shower head to give me the look I was going for with the gas mask.
This is what it looked like when I finished this part. Now I am ready to attach it to the gas mask.
See how the teeth can now be bent over on the can?
I used super clue around the can first and then pushed the gas mask in place.
I folded down each teeth and then secured with super glue and duct tape. I let it sit to dry for a bit to make sure it was secure.
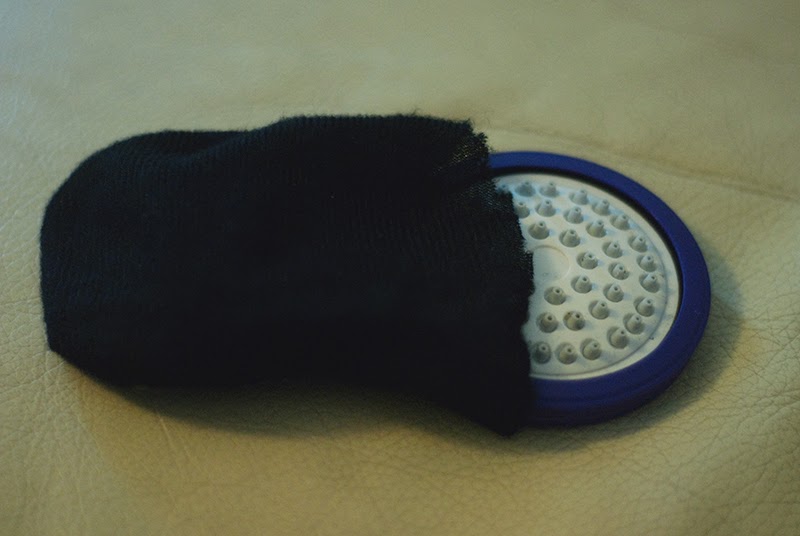
I realised my son would be huffing on super glue because the smell was strong. So I found a scent disc for the car and cut it to the right size. I covered it up in the same black material.
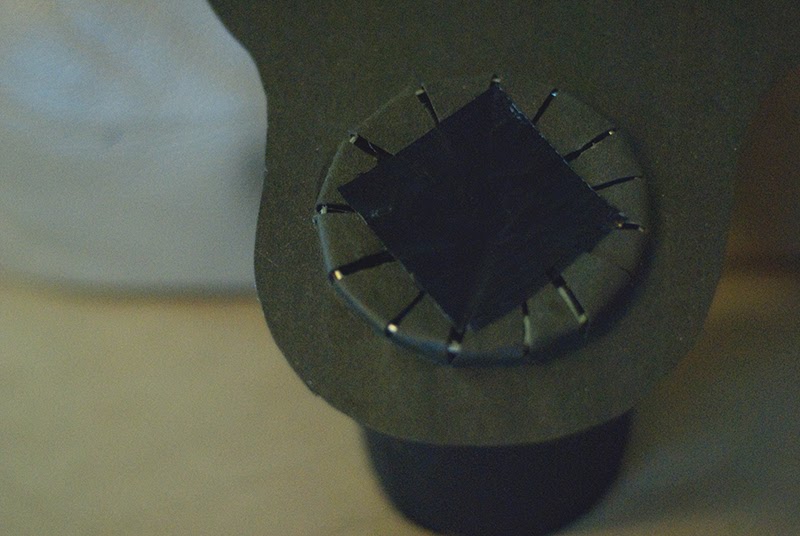
Here you can see how I used duct tape again and then attached it on top of the space.
As seen in this photo. So now he can smell ‘new car smell’ and not super glue.
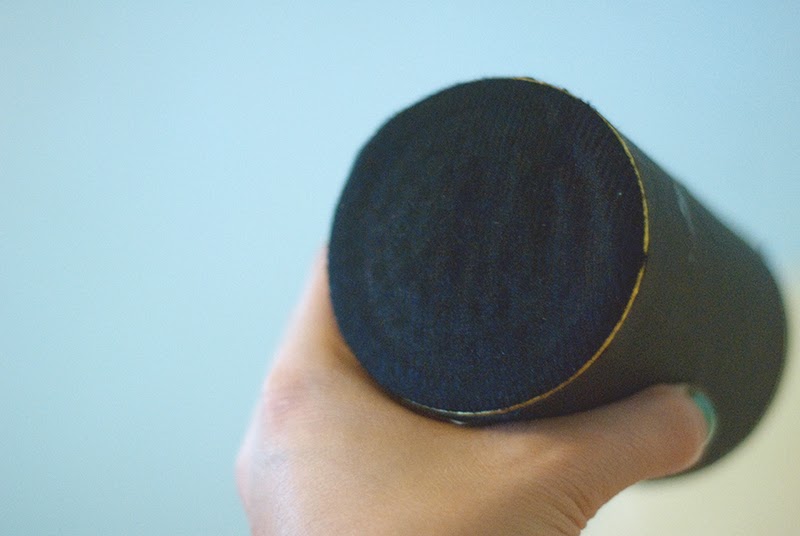
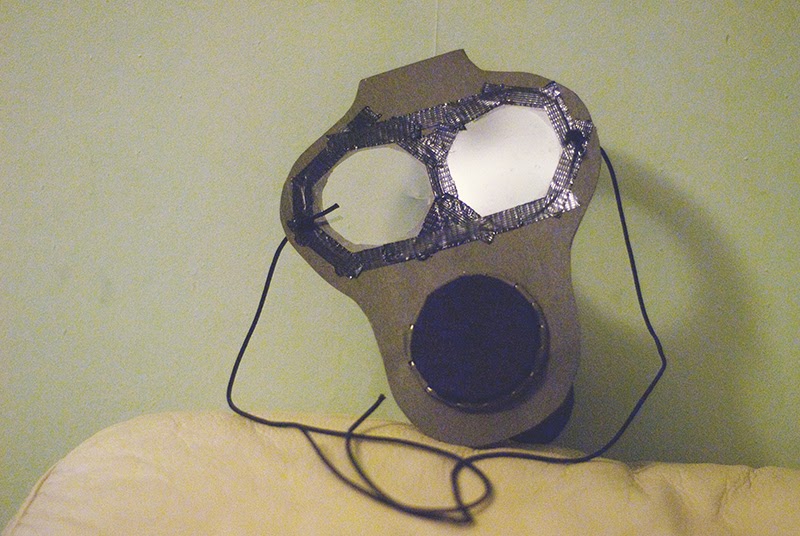
The last part was cutting out the plastic circles for the eyes. and taping them well on the back side. I attached cord on each side of the mask so that we could tie it around his head or to wear around his neck. This is the finished back side.
This is the finished gas mask from the front. It was really easy to make and very fun. Plus there are so many different ways you can customize it just by using what you have from around the house.
Q: Are you aware about the children who were evacuated during WWII in England? How about the children who were rescued out of mainland Europe to England?
*Photography belongs to Bonnie Rose of Bonnie Rose Photography © 2007 – 2013 All rights reserved | www.bonnie-rose.co.uk
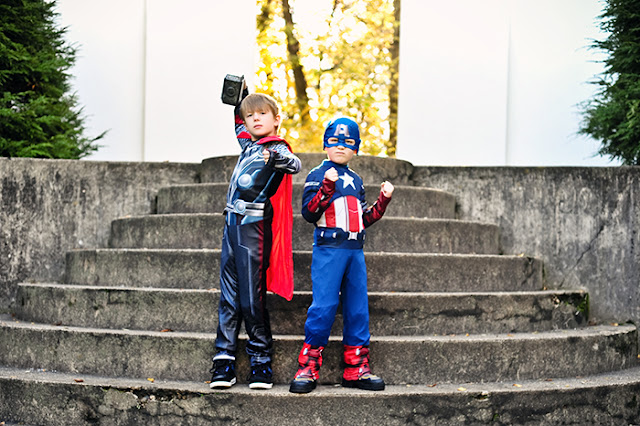
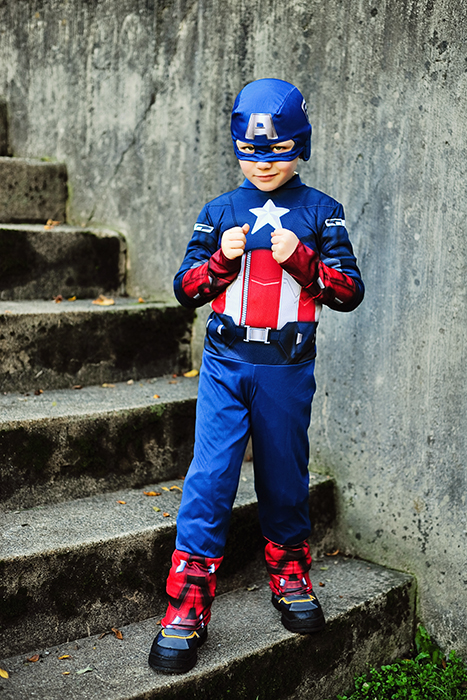
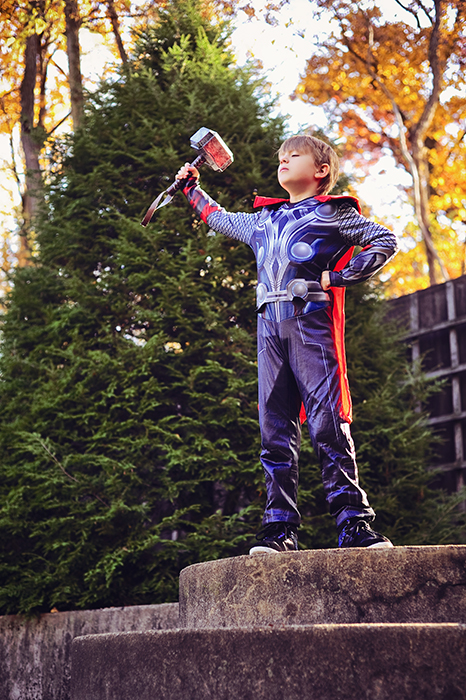
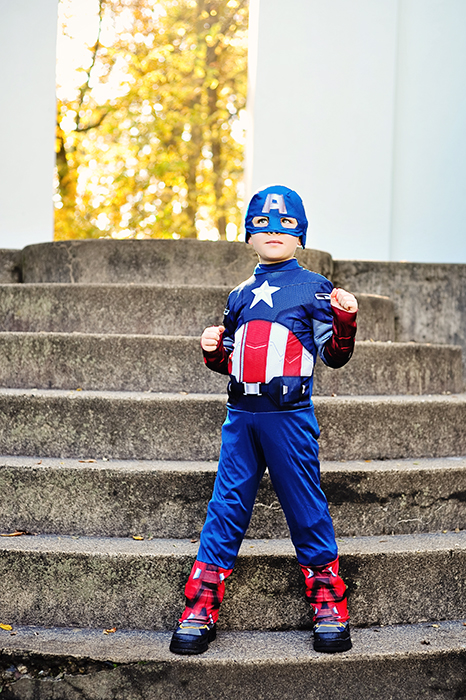
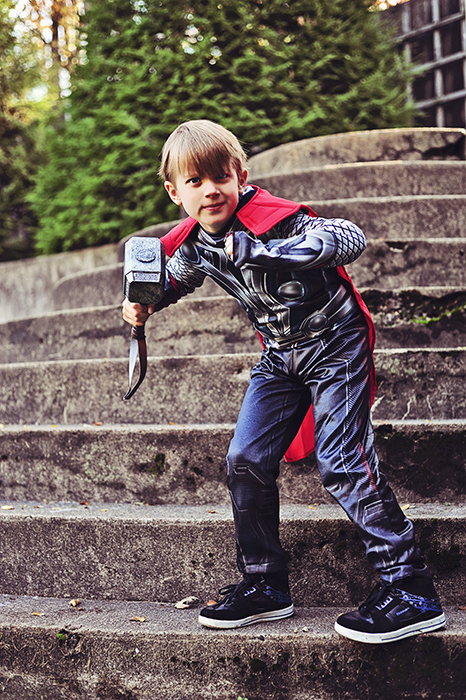
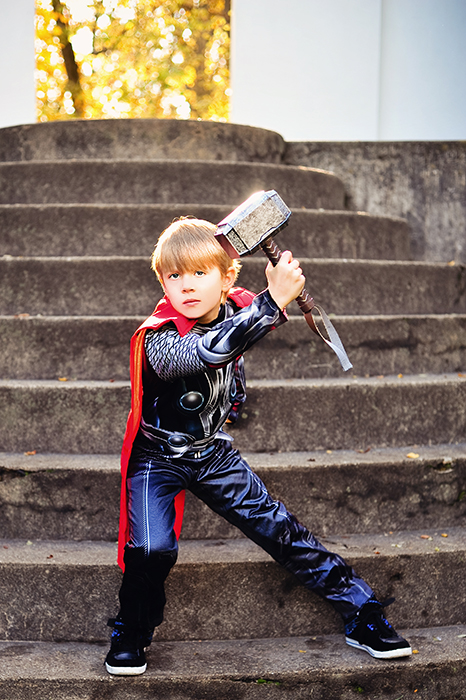
 October is flying by fast and November will be here after Halloween has come and gone. This is the first Halloween that I will not be with my boys and so I made sure we got costumes and photos before I had to leave back home to England. Halloween is not really my favourite holiday but I have carried a rule from my mum, ‘Nothing scary’ in regards to the costume selection. We originally had decided on Doctor Who, but since my husband and I cannot celebrate with the boys, my sons chose the Avengers as their back up plan. Ronan chose to be Thor and Maddox chose to be Captain America. I took them out to Allerton Park last week and we had a Halloween photo shoot. Here are my favourites. I wish my boys a fun (and safe!) Halloween on Wednesday. Look forward to seeing my two favourite heroes very soon! xx