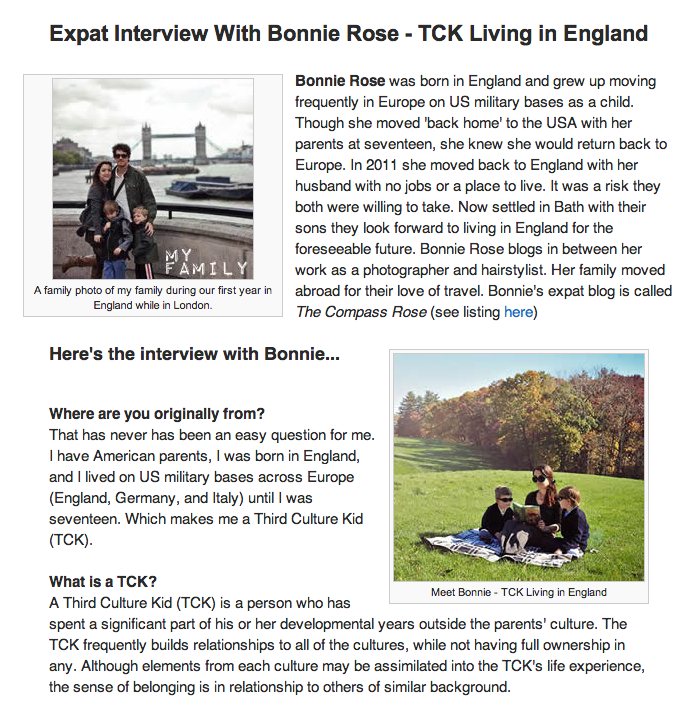
H o w t o A v o i d b e i n g a ‘ W a n n a – b e ‘ P h o t o g r a p h e r

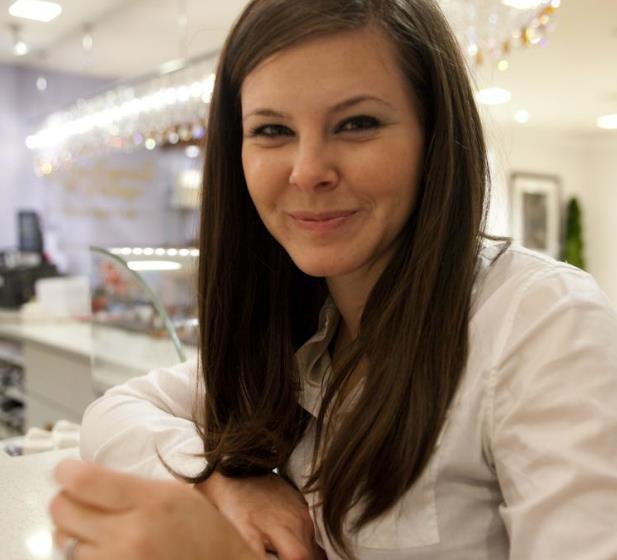
Hey, I’m Amanda, and I blog over at Living in Another Language. I love miss Bonnie Rose, and I’m constantly stalking her blog to see what new and exciting things she’s up to. Including her sweet photography skills.
Speaking of photography, is it just me, or is everyone out there claiming to be a photographer? —>CHEESIEST transition line EVER<—
If you think photography is in your blood, and all you see during big events are great picture opportunities, you are most likely considering becoming a photographer.
Due to the recent boom of picture snapping junkies (hey….I include myself in this category), the trick is to find something that makes you stand out in a crowd. What are your specialties-what do you like to shoot? Stick to what your passionate about. What you see, what interests you, what you envision in a shot DIRECTLY relates to what the final picture turns out to be.
I’m definitely not a professional. I spent the last 4 years going to photography classes, learning my ol’ Canon Rebel xsi like the back of my hand, reading photo tips, tricks, and tutorials online, until I couldn’t do anymore. Once my husband saw how passionate I was for photography he bought me my first real camera. A Canon 5D Mark II. I still drool whenever I see it’s name (granted now I’m using some of that saliva to drool over the Mark III). It was a late birthday/Christmas gift, and even after 7 months I STILL feel like I’ve barely tapped into it.
So how exactly do you go about becoming a ‘credible’ photographer and not just a ‘wanna-be’ (cause Lord knows we all hate that)? Fake it ’til you make it. Um wait. I seriously just gave that advice? No wait. Let me explain. Do your research. Study great photographers. WHY are their images so intriguing? Why will people pay thousands of dollars for a photo session with said photographer? Try to mimic the way they do things (OK this does NOT mean being a copycat. Mimic the camera angles, the lighting, the photo filters). See what you feel most comfortable with.
Also spend some time learning about post-photography editing. You may have scored the perfect shot, but even the most fantastic photo can be completely ruined by post-photography editing. I’ve pulled a few of my photos from throughout the years (mainly 2005-2009) that have been completely ruined by editing them wrong. Have a good laugh or head shake. My pain is your gain. Consider these the DONT’S of photo editing.

1. First of all, this is a SUPER old picture from 2005. I had just gone on a trip to Peru, and didn’t necessarily like this photo because I looked a little tired. So I edited the CRAP out of it. TIP: If you don’t like a picture, scrap it, or don’t TRY to make it better by editing. Odds are it’ll still look bad. This photo is over-saturated, over-exposed, and my teeth are overly whitened (why, just WHY). Along with WHO KNOWS what else.

2. The vignette look. I have plenty of prime examples of this, but 99.9% of them were too embarrassing to show. If you’re wanting to make it in the photography world, stay away from vignetting as much as possible! I honestly believe it makes the photos look a little tacky. I’ve seen some photographers do great things with it, but leave it to those who know how to use it.  I should also note that there are lenses out there that have a natural vignette to them. I currently own a Canon 28-105mm, and the sucker vignettes like none other. I have to go into Camera Raw to get it out of there. Sometimes it works, but most of the time it does nothing for my photo. The photo above demonstrates the dreaded black corners, as well as the over-exposed, bright (I need some sunglasses) look.

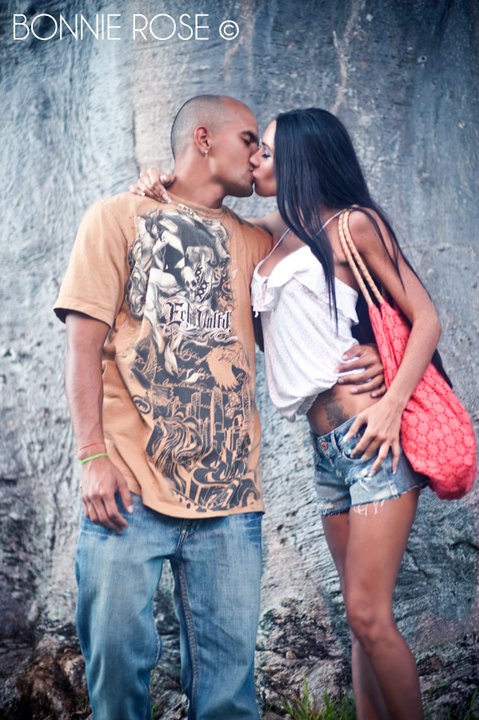
3. I suppose if you find yourself in an exposing ‘saloon girl’ dress, two guns in hand, and sitting pretty for a western photo shoot, you may expect your prints to come out with a sepia tone. After all, that is the old time look. However if you’re out with your girlfriends for a little masquerade party, you’re most likely wanting to keep it current. Maybe at the time I thought the sepia was classy. It just looks out of place…and rather…old.

4. Selective coloring is a downright NO. just no. I’m not sure what else should be said about it, but it’s not in right now. It’s a fad that went out of style in 2004 (Ironically the year this picture was taken).

5. Don’t change the colors of the photo too much. I understand I was making the picture look like I was really chillin’ with Obama…but seriously? The photo looks terrible. There is absolutely nothing wrong with a little photo filtering. Or even color tinting a black and white. But when you do ALL of it at the same time? Your photo looks something like this. It’s as if your editing program threw up all over the picture! Stay away my friends.

6. Ok, this isn’t an editing error, it’s a picture taking error. Why? Well…what’s the purpose of this photo? What’s the focus? What am I supposed to be drawn toward? Don’t take pictures just to take them. Have a reason…trust me, your camera, computer, and tired eyes (from filtering through the good pictures and bad pictures) will thank you.
Ok. Now on to the good part. After learning from my past mistakes, I have licked my wounds and started over. The remaining photos below are the result.
Here are a few of my favorite photos I’ve taken in the last few months, and an explanation why I chose to edit them the way I did.

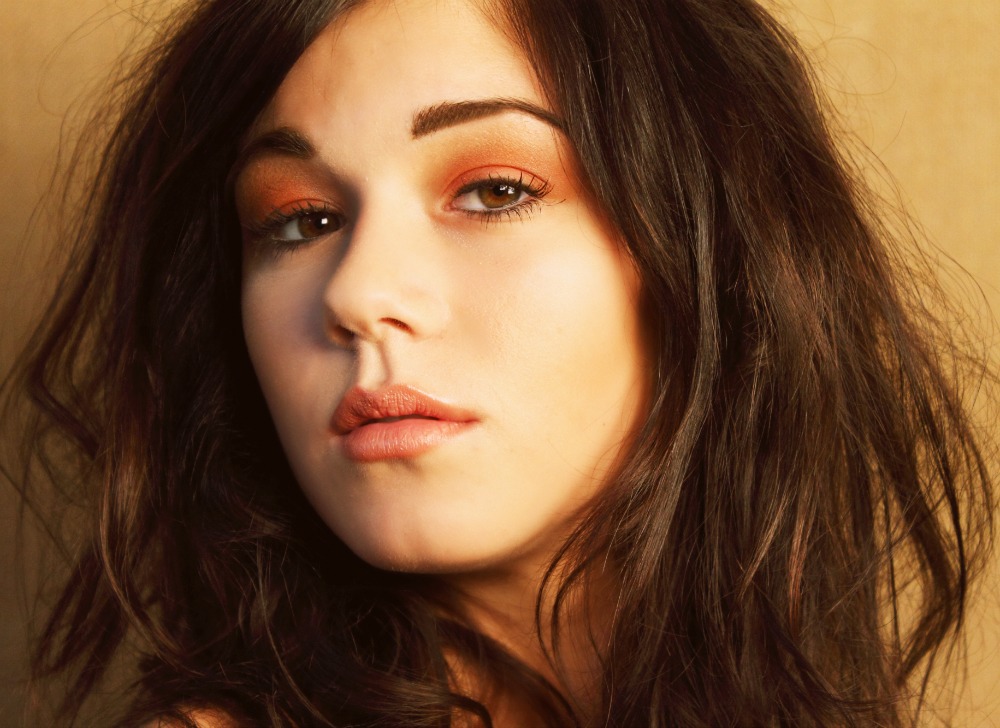
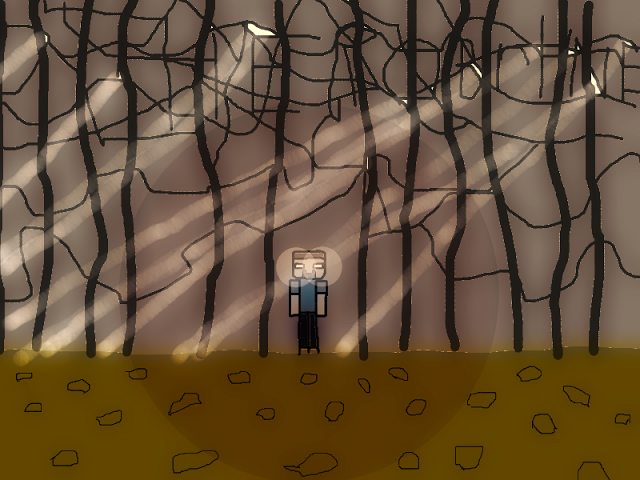
1. To be honest, I almost ditched this one. The exposure was all sorts of funky and I couldn’t get it to lighten the way I wanted without washing the details out. That’s when I decided to go the opposite way. Why not darken the photo and play on the natural highlighted parts from the sun? It didn’t take me very long to get it the way I wanted. I also applied a VSCO setting in RAW to get the faded yellowy effect.

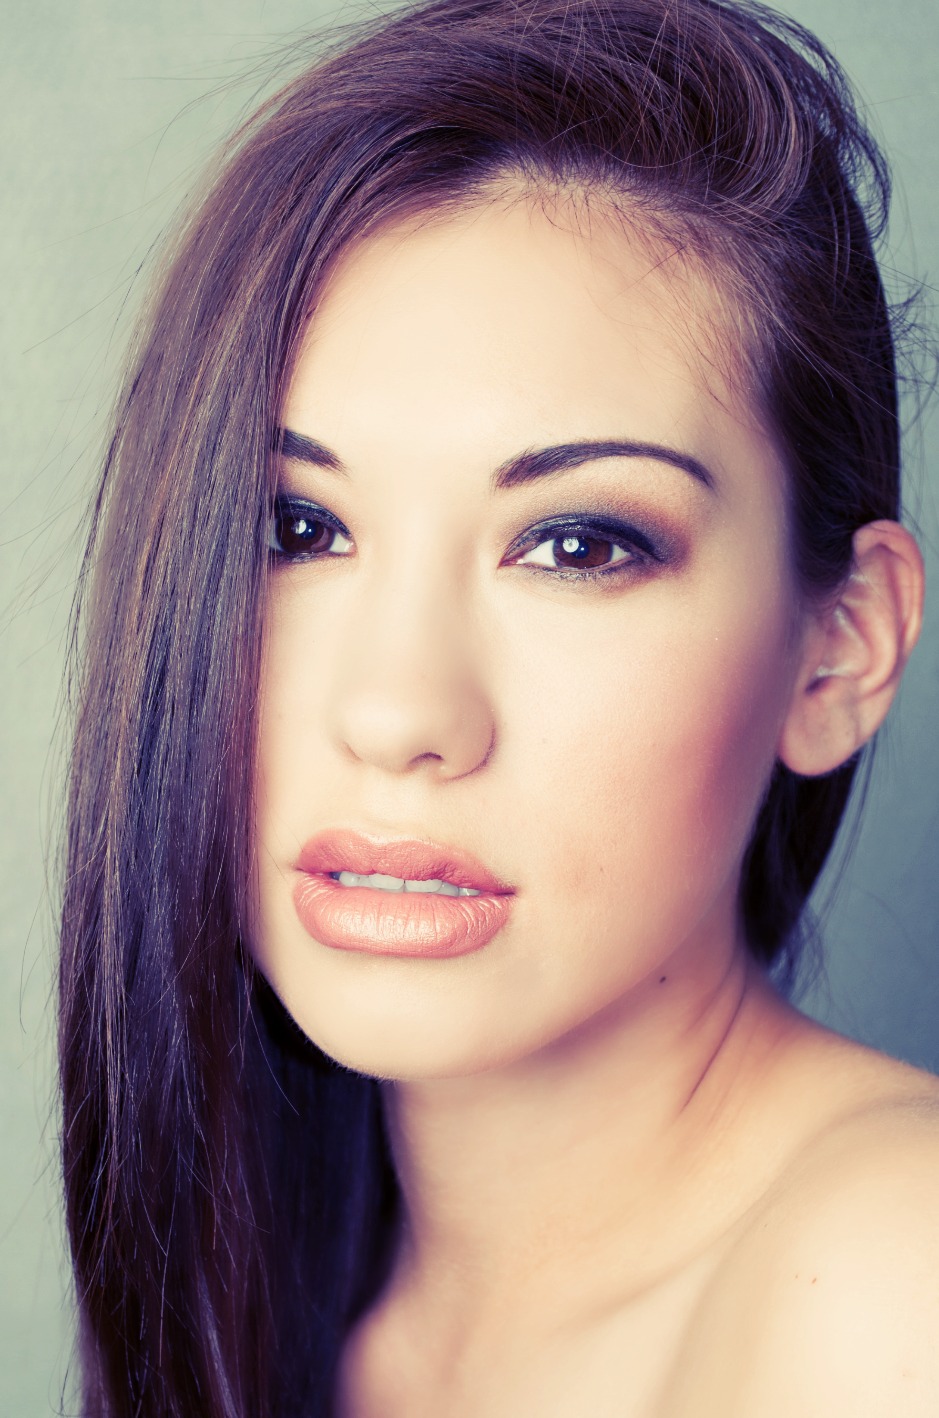
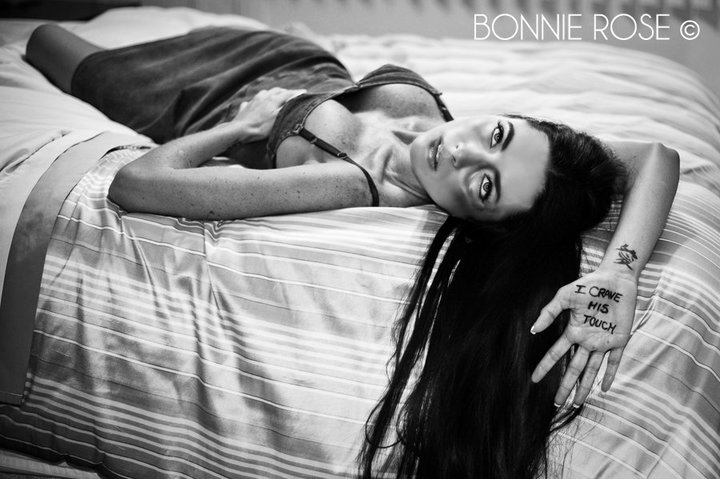
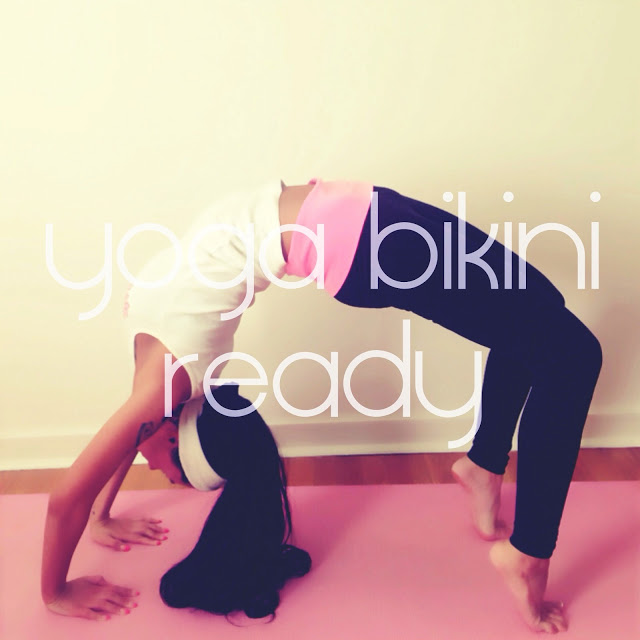
2. I am all about experimenting with my camera and learning new things. I have about 5 hours to myself on Saturdays (the husband is out teaching), and I use some of that time practicing my love for photography. Unfortunately living in South Korea I don’t have many friends (aka photo subjects). I have loved the challenge to practice my skills on MYSELF! I recently did a tutorial on taking professional looking self-portraits here.
I have this particular photo in both the black and white and color. I chose black in white due to the ‘mystery’ in the shot. It adds more of a timeless quailty to the photo and brings more focus to my face ( I was wearing a neon purple shirt which could be a little distracting).

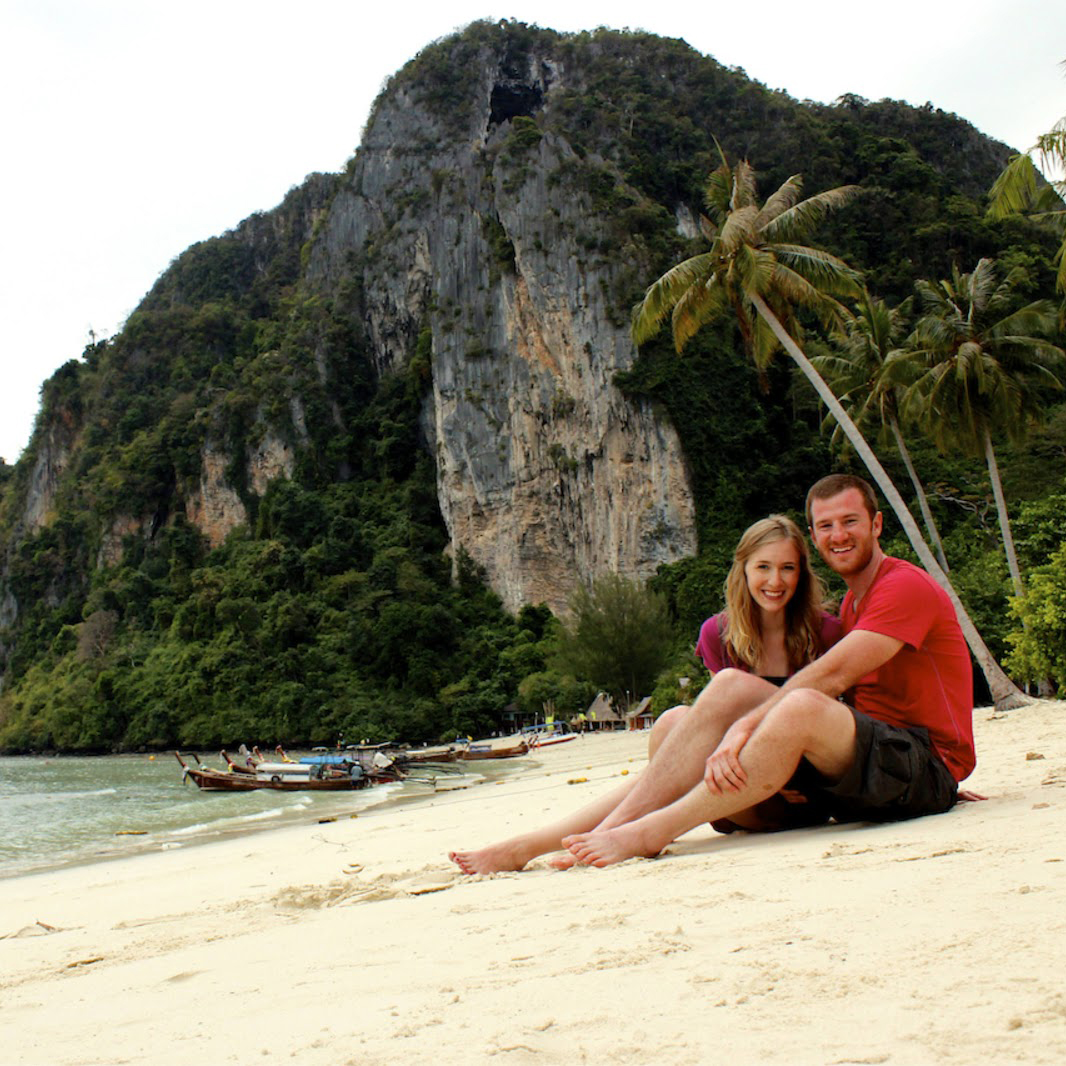
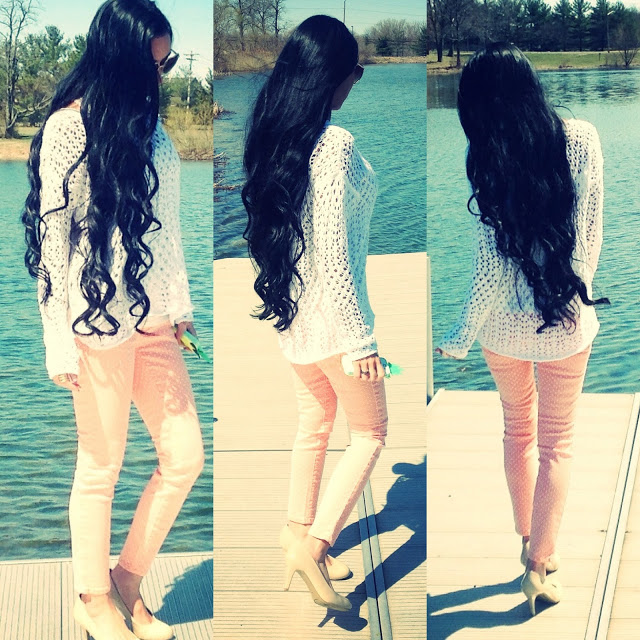
3.I love this shot I took just down the road at Hakdong Beach. I love the way the sun is climbing down the mountain towards the beach. I love the old concrete dock. I love the wave breaking over the strange pebbles that overtake the beach. I didn’t have to do much to this photo: I increased the saturation and brought up the shadows a bit.
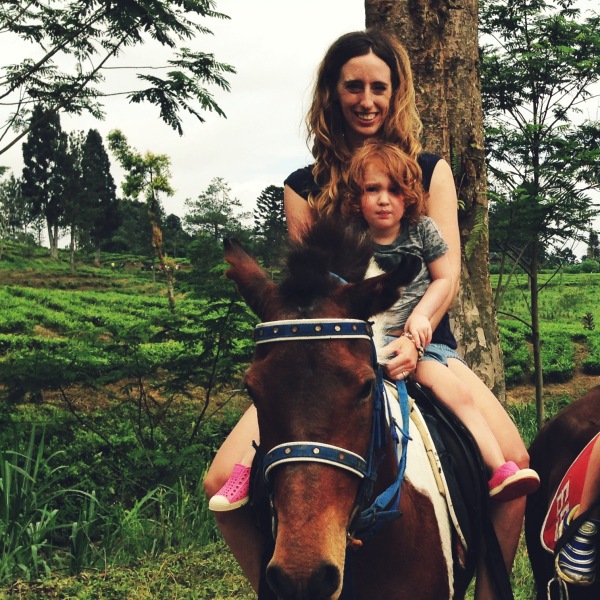
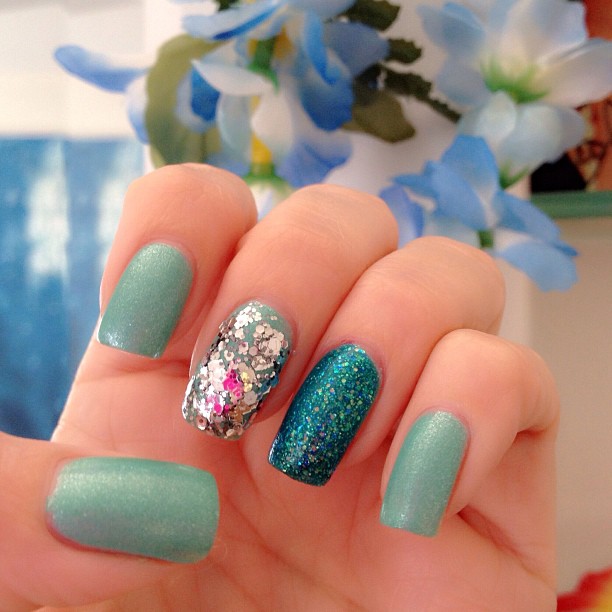
4. To tell you the truth, I used a VSCO setting for this photo and did absolutely nothing else. If you haven’t played around with VSCO you’re missing out! When I first got it, I spent HOURS seeing what all the different settings did to my photos. I love how this setting not only added a warm color throughout the picture, but it added a soft fade which works really good with all the contrasting details, bringing the photo together. It also probably helped that the background of the Boseong green tea field was breathtakingly beautiful.

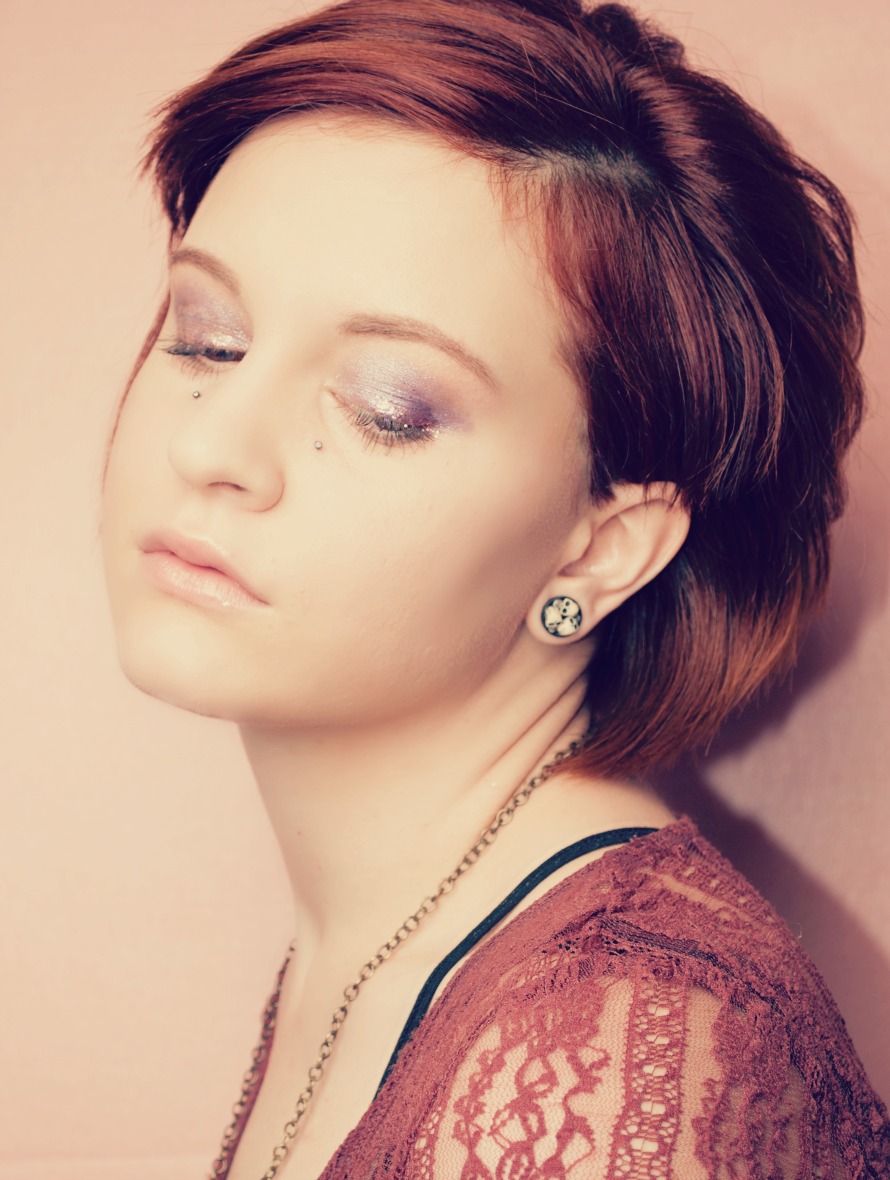
5. This is yet another self-photograph inspired by the natural light that was shining through my window. I decided on the soft sepia look instead of straight-laced black and white because it brought a warmth and intrigue the black and white didn’t. You’ll notice I didn’t dig too deep into sepia (like the #3 DONT above), because I didn’t want this photo to scream ‘antique!’

6. This scenery at Seoraksan National Park, South Korea was breathtaking. I wanted to add this photo to the guest posting to show you the slight vignetting effect my lens has. I decided to leave it, because it somehow works with the photo, drawing you towards the center. For this photo I brought up the highlights, added some saturation, and a slight fade.
Well readers, thank you for sticking with me through my good times and bad (literally). If you’d like to see more of my recent work as well as discover what it’s like to live in South Korea as an expat, drop by my blog! I am constantly posting all sorts of weird things I discover on a daily basis, as well as any sort of domestic tips I’ve learned to make my life easier over here.
You can also check out my Twitter, Facebook, and Bloglovin’! Please leave me a comment so I know you dropped by.


.jpeg)
.jpeg)

.png)